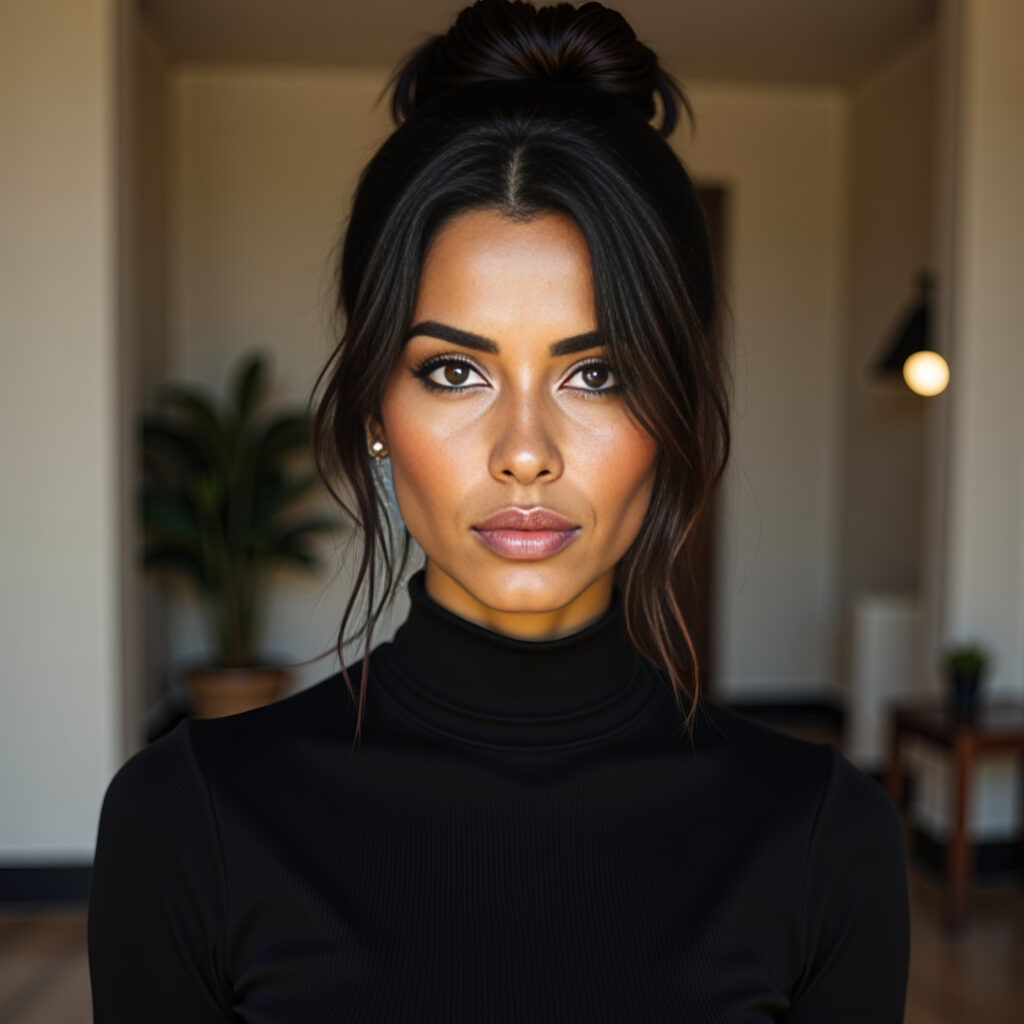
Want to achieve a fresh, radiant appearance without looking like you’ve tried too hard? The no-makeup makeup look is all about enhancing your natural beauty while keeping things effortless. This technique focuses on creating a luminous base that lets your skin shine through, giving you a healthy, glowing finish.
Using lightweight products like tinted moisturizers and illuminators, you can achieve a flawless yet subtle effect. Inspired by experts like Bobbi Brown, this guide will walk you through simple steps to master this timeless look. Whether you’re heading to work or a casual outing, this approach ensures you feel confident and radiant every day.
Key Takeaways
- Focus on enhancing your natural features for a fresh, radiant appearance.
- Use lightweight products like tinted moisturizers and illuminators.
- Create a luminous base to let your skin’s natural glow shine through.
- Follow expert tips from top makeup artists for a flawless finish.
- Keep the process simple and impactful for everyday wear.
Introduction to Embracing Natural Beauty
Discover the art of highlighting your natural features with ease. The philosophy behind embracing natural beauty is simple: it’s about enhancing what’s already there rather than masking it. This approach focuses on letting your face shine through with minimal effort.
Minimalist techniques emphasize subtlety. A light tint on your cheeks or a soft glow on your skin can bring out your inner radiance. It’s not about hiding imperfections but celebrating your unique beauty.
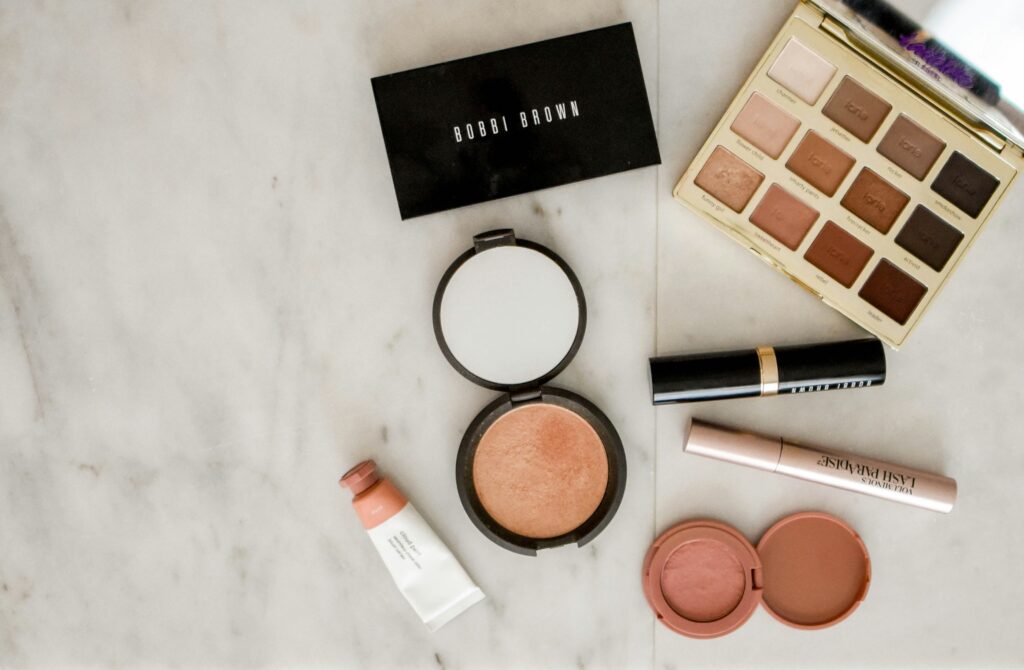
Industry trends have shifted toward this natural approach. Brands like Bobbi Brown and Chanel have inspired countless people to adopt a more understated style. Their products focus on lightweight formulas that enhance rather than overwhelm.
Here’s a quick comparison of minimalist beauty techniques:
| Technique | Purpose | Key Product |
|---|---|---|
| Light Tint | Adds a natural flush to cheeks | Cream Blush |
| Subtle Glow | Enhances skin’s radiance | Illuminator |
| Sheer Coverage | Even out complexion without heaviness | Tinted Moisturizer |
By focusing on these techniques, you can achieve a fresh, radiant appearance that feels effortless. This sets the stage for mastering the perfect natural glow in the steps ahead.
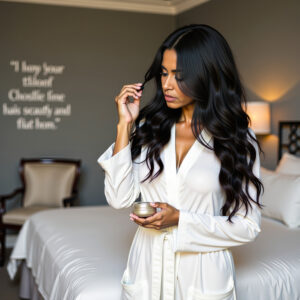
Preparing Your Skin for a Radiant Base
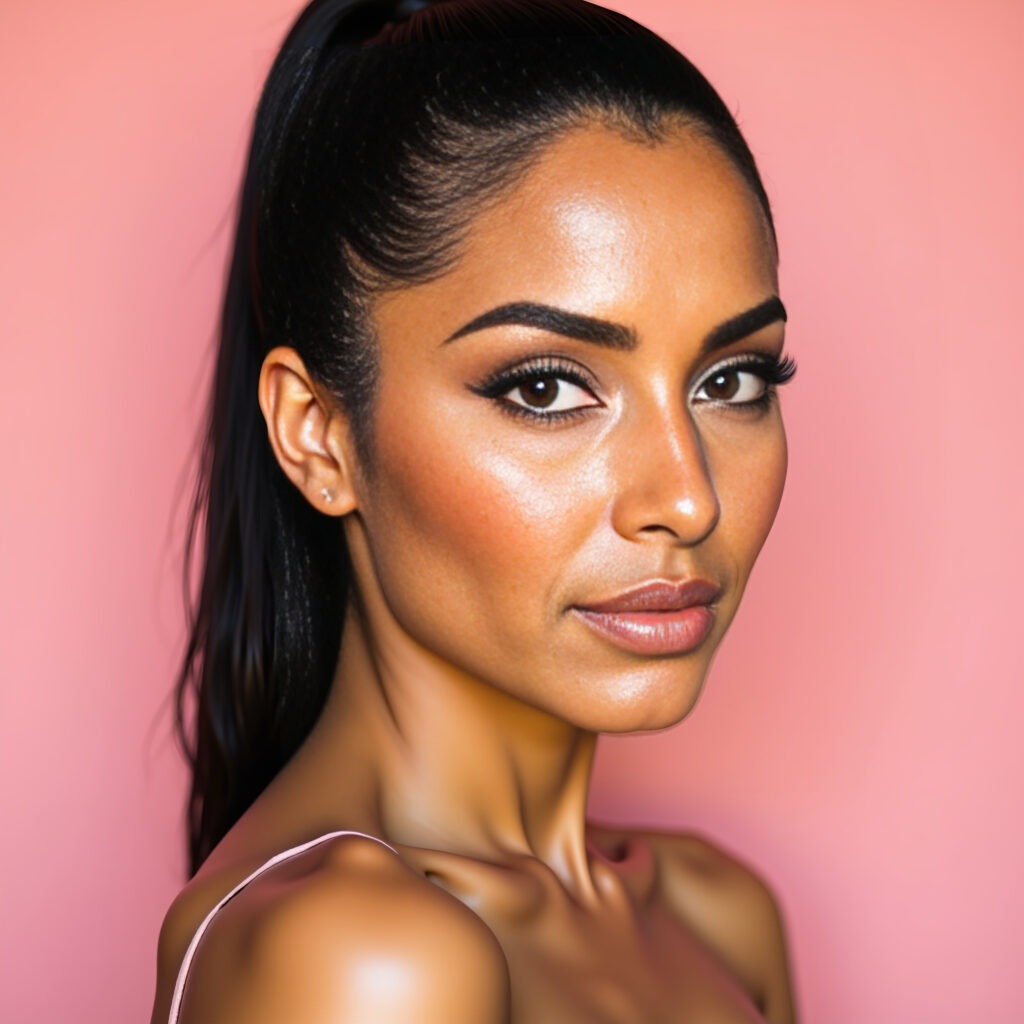
Healthy, glowing skin is the foundation of any natural beauty routine. To achieve that effortless radiance, proper skin preparation is key. It’s not just about what you apply—it’s about how you prep your canvas.
Hydration plays a vital role in creating a luminous finish. A well-moisturized face ensures your products blend seamlessly, enhancing your natural color. Look for lightweight formulas that nourish without feeling heavy.
Gentle buffing techniques can also make a difference. Exfoliating removes dead skin cells, allowing your skin to reflect light beautifully. Pair this with a light coverage base to let your natural tone shine through.
Finally, don’t underestimate the power of a soft blush. It adds a hint of warmth, complementing your skin’s natural glow. By focusing on these steps, you’ll create a radiant base that feels as good as it looks.
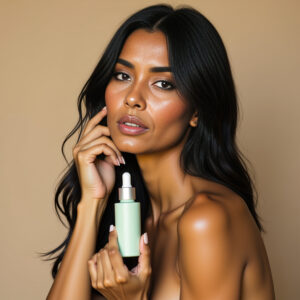
Achieving the Perfect Lightweight Foundation
Creating a flawless base starts with choosing the right lightweight foundation. The goal is to enhance your complexion while keeping the finish natural and undetectable. Whether you prefer tinted moisturizers or liquid foundations, the key is to select products that let your skin breathe.
Selecting Tinted Moisturizers and Liquid Foundations
Tinted moisturizers are perfect for a sheer, hydrating finish. They provide just enough coverage to even out your skin tone without feeling heavy. Liquid foundations, on the other hand, offer more versatility. Look for formulas labeled “weightless” or “sheer” for a natural effect.
Bobbi Brown’s method of mixing Extra Illuminating Moisture Balm with a weightless foundation is a game-changer. This technique creates a radiant, second-skin finish that’s perfect for the no-makeup makeup approach.
Blending Methods for a Seamless Look
Blending is crucial for achieving a seamless finish. Use a buffing brush for even application or your fingertips for a more natural touch. Start from the center of your face and blend outward for a flawless result.
Here’s a quick comparison of popular lightweight base products:
| Product Type | Best For | Finish |
|---|---|---|
| Tinted Moisturizer | Hydration & Light Coverage | Sheer |
| Liquid Foundation | Buildable Coverage | Natural |
| Illuminating Balm | Radiant Glow | Luminous |
By focusing on lightweight formulas and proper blending, you can achieve a base that enhances your natural beauty effortlessly. This sets the stage for the next steps in your no-makeup makeup routine.
Spot Concealing and Evening Out Your Complexion
Mastering spot concealing is the secret to a flawless yet natural finish. This technique allows you to target specific areas like dark circles and blemishes without overwhelming your skin. The goal is to create an even complexion while maintaining a fresh, radiant appearance.
Bobbi Brown’s method is a game-changer. Start by swiping the concealer onto the problem areas. Then, gently blend it using a tapping motion. This ensures the product melts into your skin, leaving no harsh lines.
Targeting Dark Undereye Areas & Blemishes
Dark circles and blemishes can be tricky, but the right approach makes all the difference. Choose a concealer that matches your skin tone or is slightly lighter for under-eyes. For blemishes, opt for a shade that blends seamlessly with your foundation.
Here’s a step-by-step guide to perfect spot concealing:
- Apply sparingly: Use a small amount of product to avoid a cakey look.
- Blend gently: Tap the concealer into your skin for a natural finish.
- Set lightly: Use a translucent powder to lock it in place.
Pro tip: Always use a light touch. Overworking the product can make it look unnatural. Balance is key—your concealer should enhance, not mask, your skin’s natural beauty.
When selecting a concealer, ensure it works harmoniously with your foundation. A creamy formula is ideal for dry skin, while a matte finish suits oily skin better. This ensures your complexion looks even and radiant throughout the day.
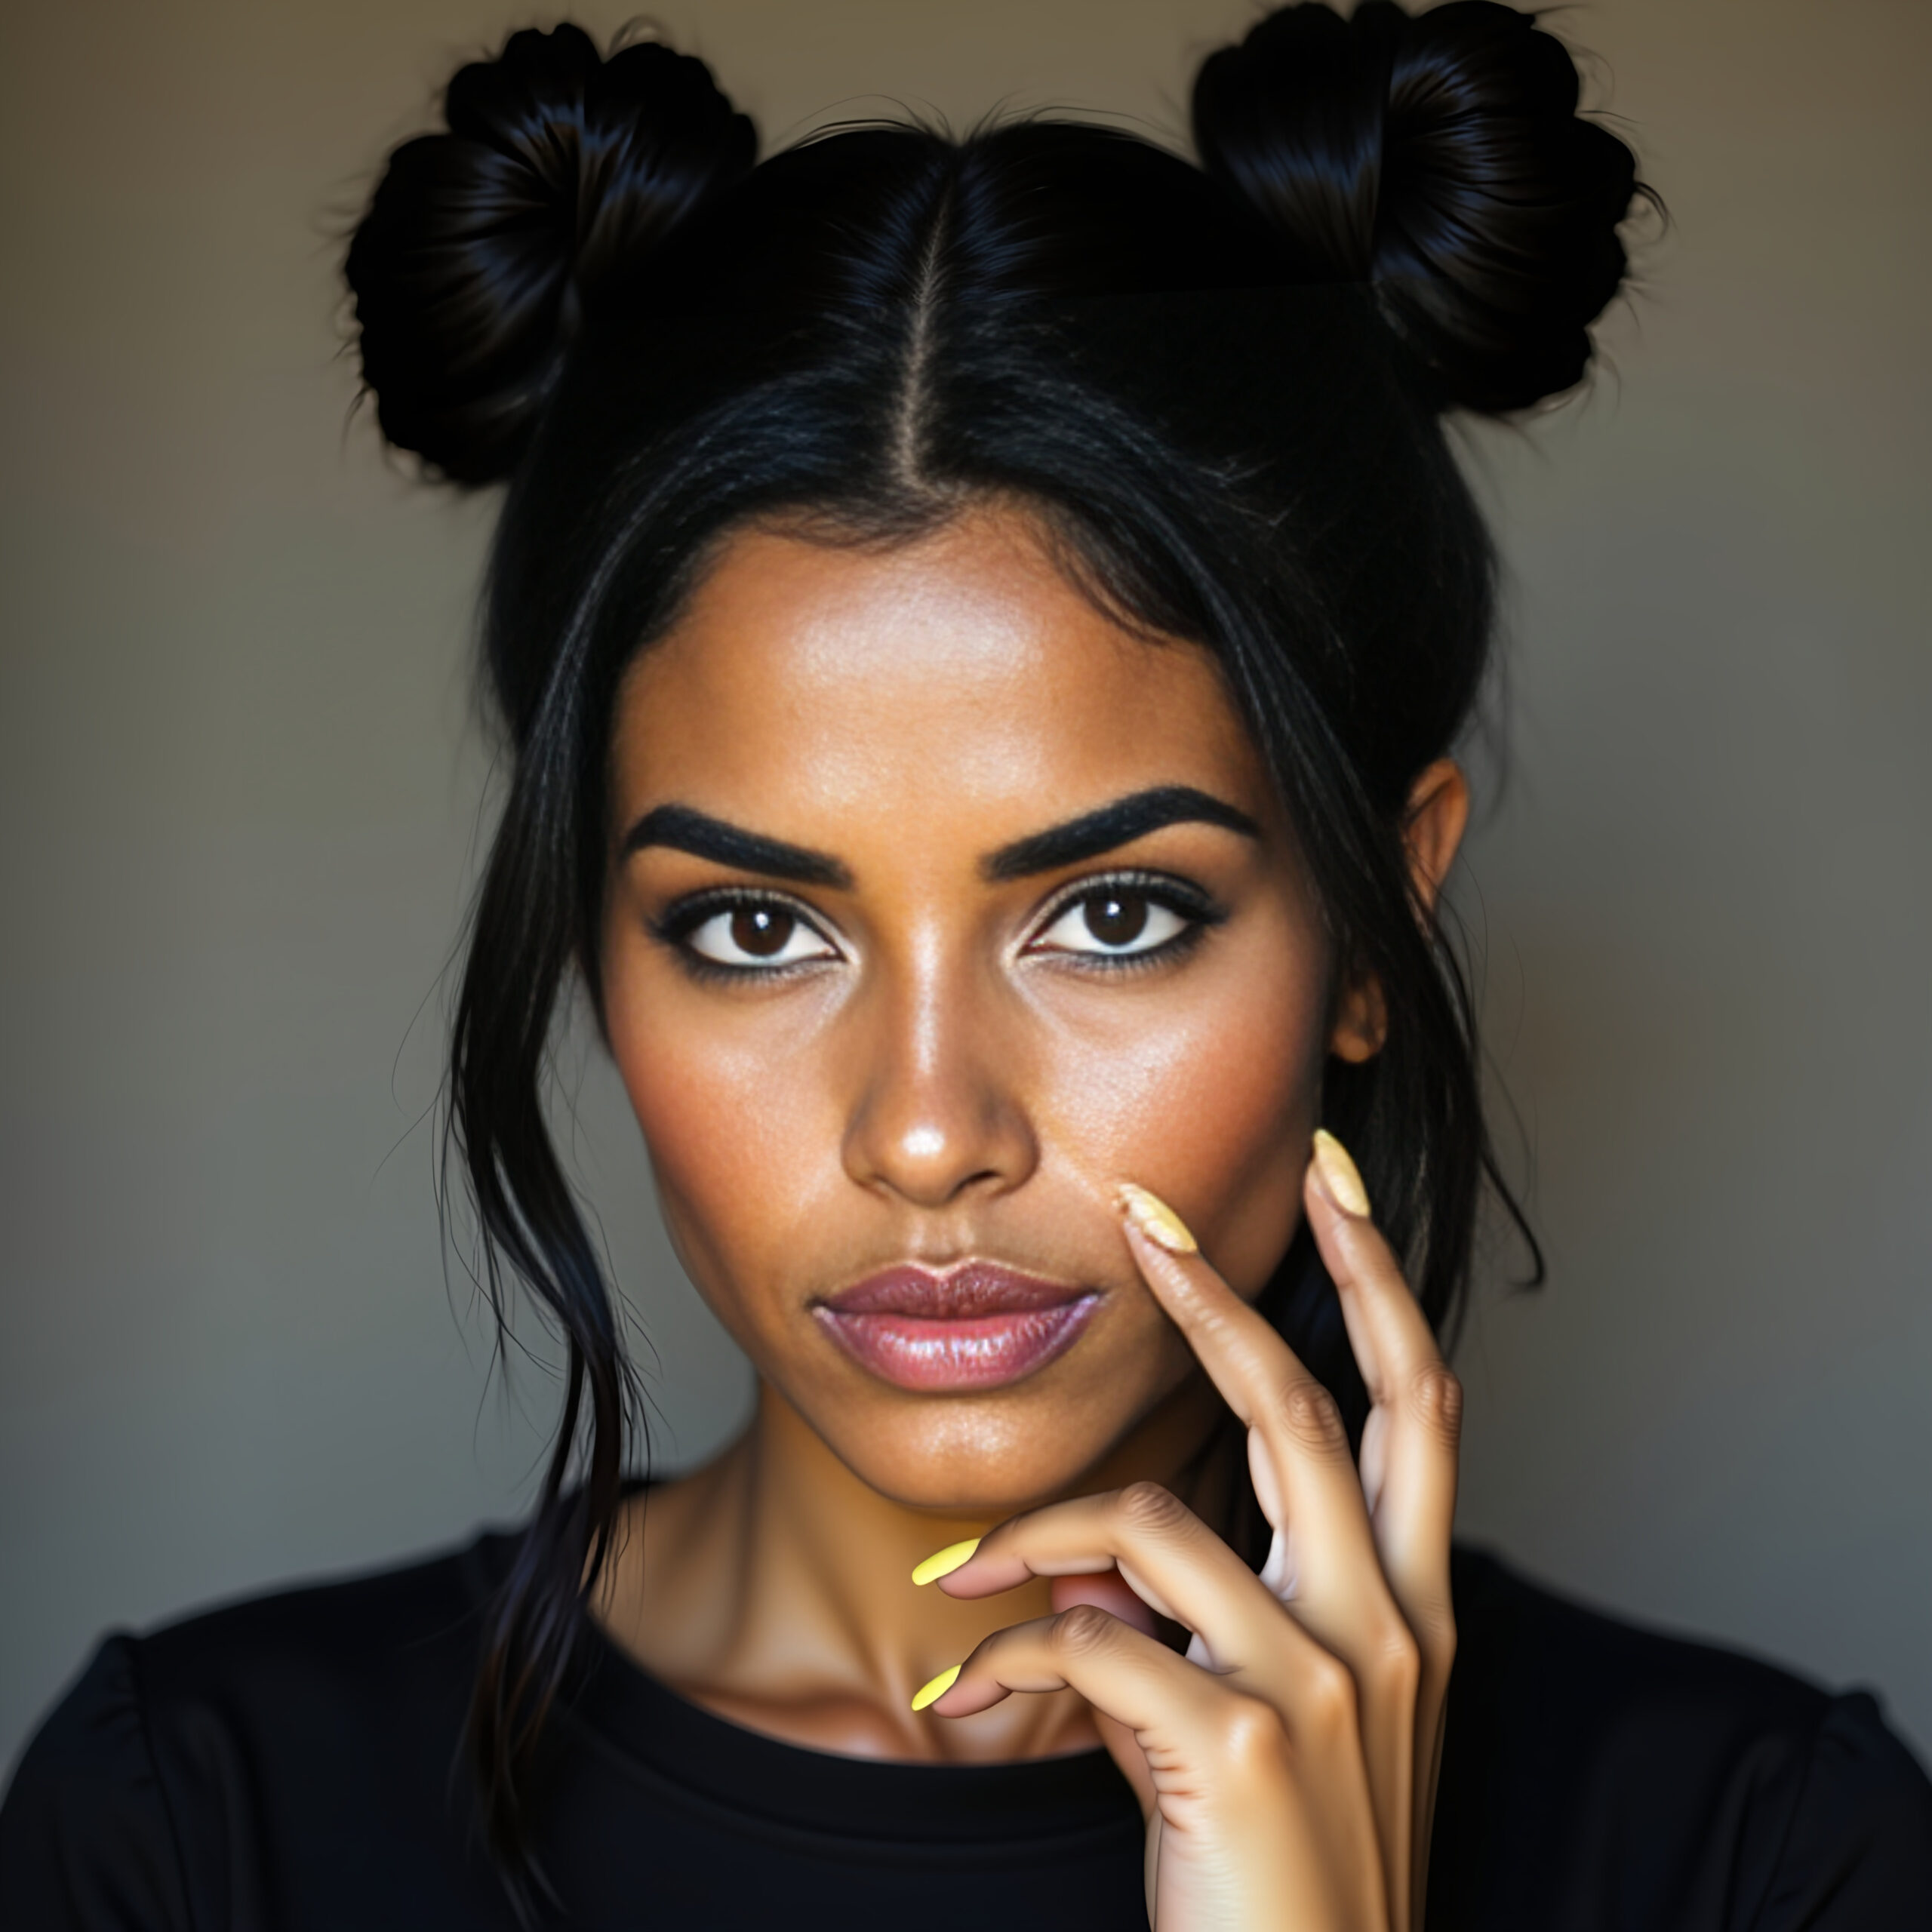
Soft-Focus Cheeks: Natural Blush Application
Achieving a soft, natural flush on your cheeks can elevate your entire look effortlessly. Blush adds warmth and dimension, making your face appear fresh and radiant. The key is to choose the right shade and formula that complements your skin tone and blends seamlessly with your foundation.
When selecting a blush, consider your skin type. Cream and gel formulas are ideal for dry skin, as they provide hydration and a dewy finish. Powder blushes work best for oily skin, offering a matte look that stays put all day. Bobbi Brown’s Pot Rouge, for example, is a versatile cream blush that doubles as a lip tint, making it perfect for a minimalist routine.
Choosing the Right Cream or Gel Blush
Cream and gel blushes are excellent for creating a natural, buildable color. They blend effortlessly into the skin, leaving a soft, diffused finish. For a seamless application, start with a small amount and build up gradually. This ensures the blush looks like a natural flush rather than a heavy layer.
Here’s a quick guide to help you choose the right blush formula:
| Formula | Best For | Finish |
|---|---|---|
| Cream Blush | Dry Skin | Dewy |
| Gel Blush | Combination Skin | Sheer |
| Powder Blush | Oily Skin | Matte |
When applying blush, focus on the apples of your cheeks and blend upward toward your temples. This technique creates a lifted, youthful effect. Remember, less is more—use minimal product to maintain a natural appearance. By choosing the right formula and applying it thoughtfully, you can achieve soft-focus cheeks that enhance your natural beauty.
Enhancing Eyes and Brows for a Subtle Impact
Subtle enhancements to your eyes and brows can make a world of difference in your overall appearance. The goal is to highlight your natural features without overpowering them. Using the right tools and techniques, you can achieve a polished yet effortless look.
Natural Eye Makeup Techniques
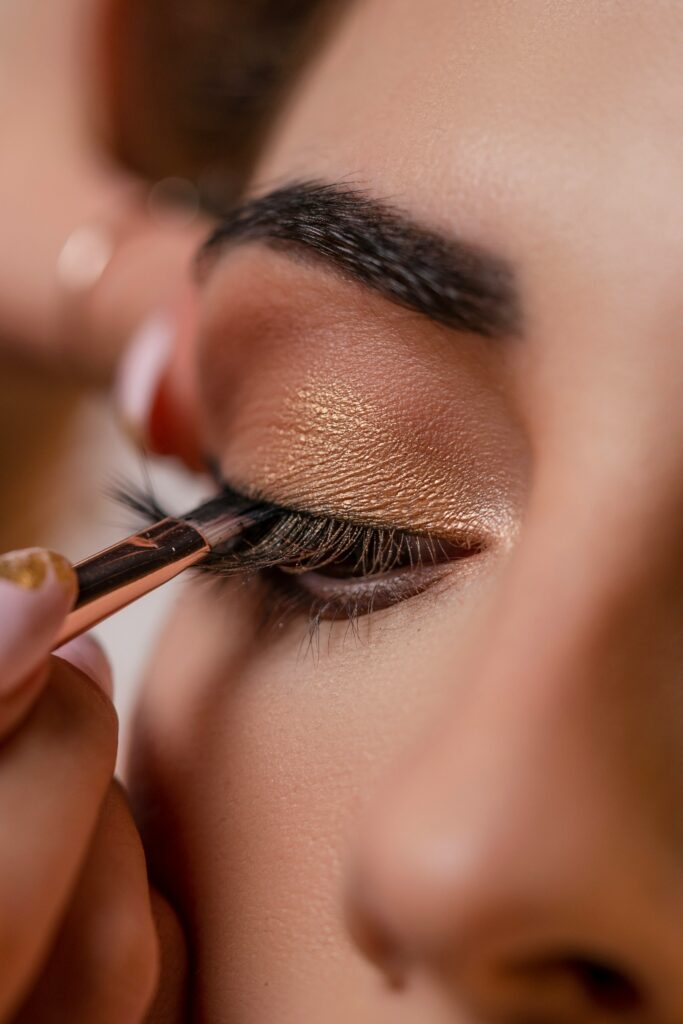
Start with a light eyeshadow shade that brightens your lids. A soft, neutral tone like beige or peach works wonders. Apply it across your eyelid and blend it into the crease for a subtle definition.
For a more natural effect, use a cream eyeshadow. These formulas blend easily and give a dewy finish. A small, fluffy brush is perfect for blending, ensuring a soft-focus look.
Pro tip: Avoid heavy eyeliner. Instead, use a brown pencil to lightly define your lash line. This adds depth without drawing too much attention.
READ MORE: BEST LONG LASTING EYELINER
Defining and Grooming Your Brows
Well-groomed brows frame your face and enhance your natural features. Start by brushing your brows with a spoolie to shape them. This simple step can make a big difference.
Fill in sparse areas with a brow pencil or gel. Choose a shade that matches your natural brow color. Use short, feathery strokes to mimic hair for a realistic finish.
An angled brush is ideal for precise application. It helps you define the arch and tail of your brows without overdoing it. Finish by setting your brows with a clear gel to keep them in place all day.
| Tool | Purpose | Best For |
|---|---|---|
| Spoolie | Grooming & Shaping | Natural Brow Look |
| Angled Brush | Precision Application | Defining Brows |
| Fluffy Brush | Blending Eyeshadow | Soft-Focus Effect |
By focusing on these techniques, you can enhance your eyes and brows in a way that feels natural and effortless. Remember, the key is to highlight your features, not mask them.
Finishing Touches: Setting, Highlighting, and Long-lasting Glow
The final steps of your routine can make or break your natural glow. It’s all about enhancing your base while keeping it fresh and radiant. A few expert techniques can lock in your look without making it appear heavy.
Start by setting your base with a translucent powder. This trick minimizes shine and keeps everything in place. Use a light amount to avoid a cakey finish. Focus on areas like the T-zone, where oil tends to build up.
Next, add a subtle highlight to accentuate your features. An illuminating balm works wonders for creating a soft, dewy effect. Apply it to the high points of your face—cheekbones, brow bones, and the bridge of your nose. This trick adds dimension without overpowering your natural beauty.
Here’s how to ensure your glow lasts all day:
- Set lightly: Use a light dusting of powder to lock in your look.
- Highlight strategically: Focus on areas that catch the light naturally.
- Use minimal product: A small amount goes a long way for a natural finish.
Bobbi Brown’s approach emphasizes balance. She suggests blending an illuminating balm with your foundation for a radiant, second-skin effect. This technique ensures your glow looks effortless and lasts throughout the day.
Remember, the key is to enhance, not mask. These finishing touches should complement your natural radiance, leaving you with a fresh, polished look that feels as good as it looks.
Expert Tips from Top Makeup Artists
Achieving a natural glow doesn’t have to be complicated—top artists share their secrets. Whether you’re a beginner or a beauty enthusiast, these pro tips will help you master the art of effortless radiance. From blending techniques to product picks, we’ve got you covered.
Pro Application Tricks and Product Recommendations
Fiona Stiles, a renowned makeup artist, emphasizes the importance of starting with a hydrated base. “A good moisturizer is non-negotiable,” she says. “It creates the perfect canvas for seamless application.” She recommends lightweight formulas that absorb quickly without leaving a greasy residue.
Amber Dreadon, known for her work with celebrities, swears by cream-based products. “Cream blushes and highlighters blend effortlessly into the skin,” she explains. “They give a natural, lit-from-within glow.” Her go-to? A multi-purpose stick that doubles as a blush and lip tint.
Jason Hoffman, another industry favorite, suggests using a damp beauty sponge for foundation. “It helps the product melt into your skin,” he notes. “The result is a second-skin finish that looks like you’re not wearing anything at all.”
Advice on Balancing Coverage and Natural Finish
One common mistake is over-applying foundation. “Less is more,” says Stiles. “Start with a small amount and build only where needed.” This approach ensures your skin’s natural texture shines through.
Dreadon advises focusing on spot concealing. “Target areas like under-eyes and blemishes,” she says. “This keeps the rest of your face looking fresh and light.” She recommends a creamy concealer that blends easily without creasing.
Hoffman highlights the importance of setting strategically. “Use a translucent powder only in areas that tend to get oily,” he suggests. “This keeps your glow intact while preventing shine.”
Here’s a quick summary of their top tips:
- Hydrate first: Always start with a good moisturizer.
- Choose cream formulas: They blend seamlessly for a natural finish.
- Use a damp sponge: It helps foundation melt into your skin.
- Spot conceal: Focus on problem areas to keep the rest light.
- Set strategically: Use powder sparingly to maintain glow.
By following these expert tips, you can achieve a radiant, natural look that feels effortless. Remember, the key is to enhance your features, not mask them.
Step-by-Step Guide: No-makeup makeup look Breakdown
Ready to master a fresh, natural glow with ease? We’ve got you covered with this detailed, step-by-step guide. From skincare prep to final touches, each step builds on the last to create a polished, radiant finish.
Start with a clean, hydrated base. Apply a lightweight moisturizer to ensure your skin is smooth and ready for the next steps. This sets the stage for a flawless application.
Next, even out your complexion with a sheer formula like a tinted moisturizer or lightweight foundation. Blend it seamlessly using a damp sponge for a natural, second-skin effect.
Enhance your features with subtle touches. Add a soft color to your cheeks using a cream blush. Blend it upward toward your temples for a lifted, youthful appearance.
Define your brows with a brow pencil or gel. Use short, feathery strokes to mimic natural hair. This frames your face and adds structure without looking overdone.
For your lips, opt for a tinted balm or sheer lipstick. Choose a shade that complements your natural lip color for a soft, effortless finish.
Finally, set your look with a light dusting of translucent powder. This keeps everything in place while maintaining your natural glow. Add a touch of illuminator to your cheekbones for a radiant finish.
List of my recommendations:
1. Exfoliate
🔹 Himalayan Salt Scrub
– Gently removes dead skin cells and boosts circulation for a fresh, smooth glow.
2. Cleanse
🔹 CeraVe Hydrating Facial Cleanser
– Non-foaming, gentle cleanser that keeps skin hydrated and calm. Ideal for all skin types.
3. Moisturize
🔹 CeraVe Moisturizing Cream
– Deep hydration with ceramides and hyaluronic acid. Perfect prep for smooth makeup application.
4. Base Makeup
🔹 Bobbi Brown Longwear Weightless Foundation
– Lightweight, buildable coverage with a natural matte finish. Skin-like feel that lasts all day.
5. Blush
🔹 LAURA GELLER NEW YORK Blush
– Adds a natural flush with a soft, radiant finish. Perfect for a healthy glow.
6. Bronzer / Glow Enhancer
🔹 L’Oréal Paris True Match Lumi Glotion
– Illuminates skin while giving a soft sun-kissed bronze. Can be used alone or mixed with foundation.
7. Eyeliner
🔹 Revlon ColorStay Pencil Waterproof Eyeliner
– Smooth, precise, and long-lasting. Defines eyes without smudging – great for a subtle look.
8. Brows
🔹 Maybelline Superfluff Volumizing Brow Mousse
– Fills, shapes, and holds brows naturally with a soft, fluffy finish.
9. Lip Liner
🔹 Maybelline Sensational Lip Liner
– Defines lips with a creamy, comfortable texture. Great base for gloss or lipstick.
10. Lip Gloss
🔹 Anastasia Beverly Hills Lip Gloss
– High-shine finish with rich color. Non-sticky and perfect for natural, full lips.
| Step | Product | Technique |
|---|---|---|
| Skincare Prep | Lightweight Moisturizer | Apply evenly for hydration |
| Base Application | Tinted Moisturizer | Blend with a damp sponge |
| Cheek Color | Cream Blush | Blend upward for a natural flush |
| Brow Definition | Brow Pencil | Use feathery strokes |
| Lip Enhancement | Tinted Lip Balm | Apply for a sheer finish |
| Final Setting | Translucent Powder | Dust lightly to lock in the look |
By following these steps, you’ll achieve a natural, radiant appearance that feels effortless. Remember, the key is to enhance your features, not mask them. With the right formula and techniques, you’ll look and feel your best every day.
Conclusion
Achieving a radiant, natural finish is simpler than you think. By following a few steps, you can enhance your features without overwhelming them. Start with a hydrating primer to create a smooth base. Then, use lightweight products like tinted moisturizers and cream blushes for a seamless finish.
Focus on subtle enhancements. A soft swipe of blush on the apples of your cheeks adds warmth. Choose shades that complement your skin tone for a cohesive look. For lips, opt for a tinted balm or sheer lipstick to keep things effortless.
Experiment with these techniques to find what works best for you. The way you apply each product can make all the difference. Remember, the goal is to celebrate your unique beauty, not mask it.
With these pro tips, you’ll feel confident and radiant every day. Embrace your natural glow and let your inner beauty shine through!
FAQ
Q: How do I choose the right skin tint for my complexion?
A: Look for a skin tint that matches your undertone—cool, warm, or neutral. Test it on your jawline in natural light to ensure it blends seamlessly with your face and neck.
Q: What’s the best way to apply cream blush for a natural glow?
A: Use your fingers or a stippling brush to dab a small amount of cream blush onto the apples of your cheeks. Blend outward toward your temples for a soft, diffused effect.
Q: Can I use powder over a cream base without it looking cakey?
A: Yes! Use a light hand and a fluffy brush to apply a translucent powder. Focus on areas that tend to get oily, like the T-zone, to set your base without adding heaviness.
Q: How do I achieve a natural finish with foundation?
A: Opt for a lightweight formula like a tinted moisturizer or liquid foundation. Apply it sparingly with a damp sponge or brush, blending outward for even coverage.
Q: What’s the trick to making my brows look fuller but still natural?
A: Use a brow gel or pencil in a shade that matches your hair color. Fill in sparse areas with light, feathery strokes, then brush through with a spoolie for a soft finish.
Q: How can I keep my lips hydrated while adding a hint of color?
A: Start with a hydrating lip balm, then swipe on a tinted lip product like a sheer lipstick or lip stain. This adds a subtle pop of color while keeping your lips moisturized.
Q: What’s the best way to set my makeup for all-day wear?
A: Use a setting spray with a dewy finish to lock in your look. Hold the bottle about 8-10 inches from your face and mist lightly for a fresh, long-lasting glow.
Q: How do I conceal dark circles without looking heavy?
A: Choose a lightweight concealer that’s one shade lighter than your foundation. Apply it in a triangle shape under your eyes and blend with a sponge for bright, natural-looking coverage.